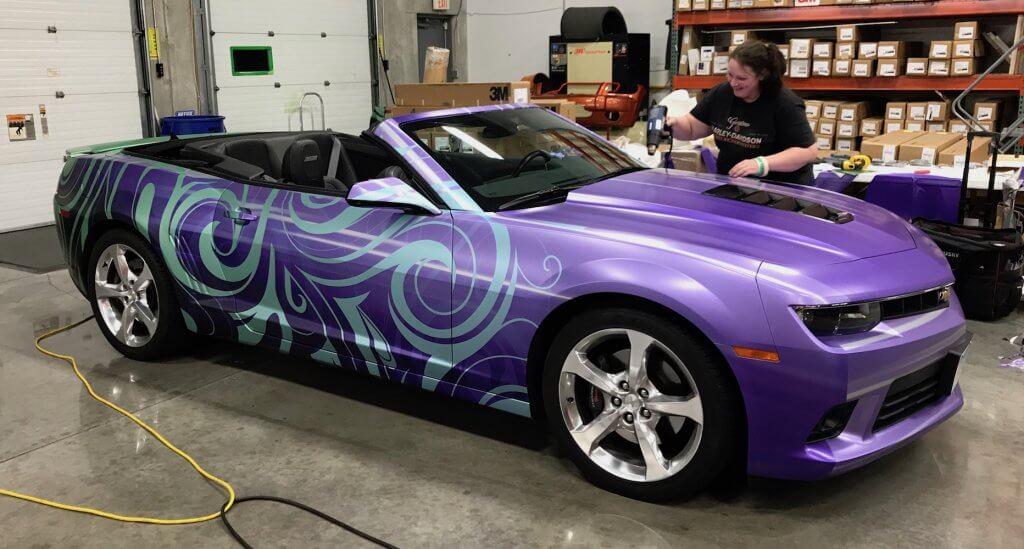
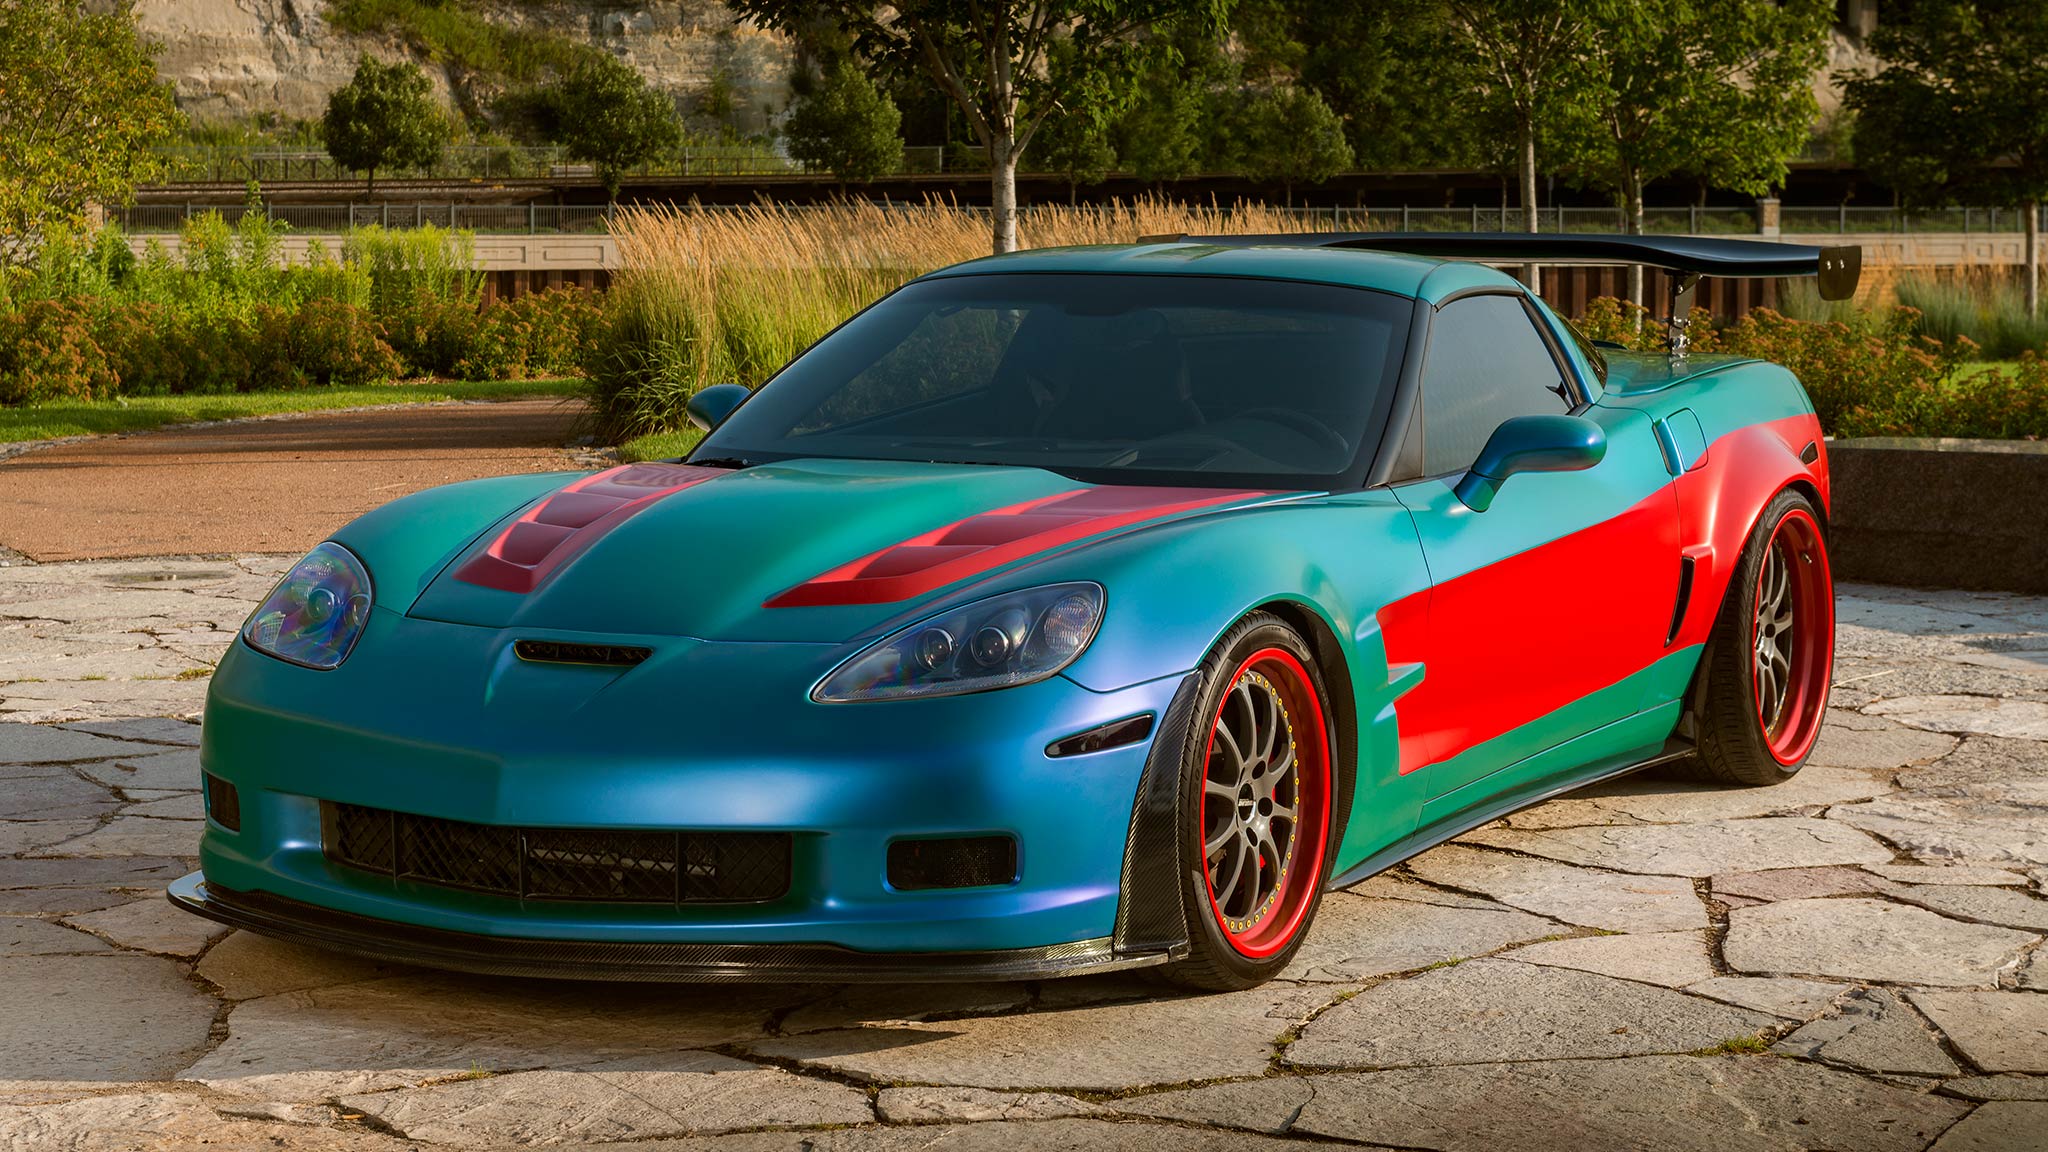
Have you ever seen a car with a custom exterior that made your jaw hit the floor? The fact that you’re reading this and considering doing the same to your own vehicle means you probably have.
Well, fortunately, you’ve come to the right place. With a little bit of time and patience, you can make your ride scream with individuality. And the best part is—you can do it for far less than what it would cost for a custom paint job.
With the right tools, materials, and guidance, you too can apply a vinyl car wrap with ease. Before you get started, though, it’s important you have everything you’ll need at the ready.
WHAT YOU’LL NEED
- Blue Painter’s Tape
- Tape Measurer
- A Roll of Vinyl Film Car Wrap
- Car Wash Soap
- Microfiber Towel
- 70% Isopropyl Alcohol
- 3M Primer 94
- Cotton Gloves
- Utility Knife
- Felt Squeegee Applicator
- Vinyl Film Cutter
- Heat Gun
VINYL CAR WRAP INSTALLATION GUIDE
Thanks to today’s advanced vinyl technology, even a complete beginner can transform their vehicle in no time. Keep reading for our simple 10-step guide to vinyl car wrapping like a pro.

STEP 1: MEASURE YOUR VEHICLE
Before you purchase any vinyl film, you’ll want to measure the panels you plan to wrap so you know exactly how much you’ll need. An easy way to do this is by using blue painter’s tape.
Place the tape across the center (or longest section) of each panel, leaving about 1 inch on each end to account for the amount that will need to be tucked. Once you’ve taped each panel, remove the tape and lay it across the floor, and then use a tape measure to determine the total length you need.
STEP 2: PURCHASE YOUR VINYL WRAP
Now that you know how much film you need, it’s time to purchase your vinyl wrap material. We recommend going with 3M™ Wrap Film Series 2080 due to its quality, ease of application, and variety of different colors and textures. If this is your first time wrapping a vehicle, avoid anything with a chrome finish as that’s typically the most expensive and challenging option available.
Try to stick to more well-known brands of vinyl from some of the bigger companies. If you bought Vivid vinyl or another off-brand product on Amazon, put on your dancing shoes and get ready for a fight. Quality vinyl is made to look good and be easy to install. Cheap vinyl is only made to look good on day 1 when it comes in the mail.
3M film typically comes in lengths of 25 yards, with some suppliers able to cut custom lengths all the way down to as little as 1 yard. It’s important to find a reputable supplier who keeps their inventory fresh and in a stable temperature band, as old or poorly stored material will be dramatically harder to install and get a good result from. Always order a little extra, because accidents do happen, and you may have to redo an entire section.
If you’re looking for a custom design or finish, you may need to reach out to a vehicle wrap professional in your area that can work one-on-one with you to create the perfect look for your vehicle.

STEP 3: PREP YOUR SPACE
If possible, choose a large climate-controlled indoor space such as a garage. If you try to apply your car wrap outside, you will battle wind, heat and humidity, sudden inclement weather, or sand and other particles getting underneath the wrap on install. You really don’t want any of that messing with your hard work.
Also, make sure the space is clean and there is plenty of good lighting power available. If there is too must dust and dirt, your freshly cleaned vehicle won’t stay that way for long. Ideally, you will have the temperature set to 72 degrees, which is warm enough for the vinyl to conform properly, but not too warm that you are working with taffy.
When pulling the liner backing off the vinyl, you will create a static charge which will draw debris to the vinyl from within about a 4-foot radius. If your space is clean, there won’t be nearly as much to attract.
STEP 4: PREP YOUR VEHICLE
If your vehicle has any dents, dings, or deep scratches, we recommend you fix those before going any further. While the vinyl will change the color of imperfections, any surface impressions will telegraph through and still be noticeable.
You also want your vehicle to have a factory paint job that is in good condition. If the paint is chalking or failing, anything you put on top of it will fail when the paint lets go. If this is your situation, you would be better off simply having the car repainted to solve the problem at the source instead of trying to cover it up.
Next, check the panels you plan to wrap and remove any bulky items that may get in the way, such as logos, trim, door handles, and hood ornaments. If you don’t know the best method for removing these safely, we recommend researching it first or contacting a body shop for help.
Now it’s time to give your vehicle a good soapy wash using the supplies you have on hand or picked up earlier. When you’re finished, use a lint-free microfiber cloth to thoroughly dry all surfaces. Once all surfaces are clean, leave the vehicle inside to dry overnight so that all of the remaining water trapped in the body panels has time to find its way out.
On install day, you need to wipe down the entire car with 70% isopropyl alcohol to ensure you have a clean and pristine surface to wrap. This is especially important for all edges of the wrap, such as the inside edges of the body panels, door panels, and everywhere else where an edge of the film will be. Many great wrap installs have been ruined within a year because not enough time or care was paid to the preparation and cleaning stage of the install. Don’t let yours become yet another statistic.
For expert installers, once the car is perfectly clean and ready to wrap, they will apply 3M primer 94 to any edges or severe indents to ensure the vinyl stays down in these critical areas. You will still need to install the vinyl correctly and post-heat these areas thoroughly, but it will improve your odds of success. Primer 94 can be found in small cans or convenient crack ampules. Don’t apply primer 94 to the entire car all at once, though. Only put it in the areas you plan to wrap in the next 4 hours. Once you finish that area, then set up another section of the car for your next 4 hours.
Important safety note about isopropyl alcohol and Primer 94: You need to have adequate ventilation for both of these products, particularly the isopropyl alcohol. Make sure to read the MSDS information for both before proceeding. Your health will thank you.

STEP 5: APPLY WRAP TO THE FIRST PANEL
If this is your first time wrapping a vehicle (which it probably is if you’re reading this), we recommend starting with a flat section first, such as the hood, roof, or a door panel if you removed the handles. This will allow you to accrue some experience and confidence before moving on to the more difficult sections.
Using the measurements you took earlier, unroll the desired amount of film, and then cut it with your utility knife. Be sure to cut your film on a clean folding table or a similar surface that’s off the floor and away from any contaminants.
Are you using a high-end film with color-changing effects in it? Make sure the arrows on the back of the film are consistently pointing in the same direction when you install it, otherwise the effect won’t flow nicely from front to back when you’re done.
With a friend, remove the liner backing from the entire piece of vinyl and lightly tack it into position on your first panel. Use your 4-inch squeegee to start in the middle of the panel and slowly work your way out to the edges. Your goal here is to push out all air from underneath the vinyl. Use overlapping strokes to make sure you don’t miss any areas.
When the shape of the vehicle changes and you need to stretch the vinyl into convex or concave areas, start by stretching it cold with your squeegee. If you mess up an area, try pulling the vinyl back a bit and heating it with a heat gun (with no tension). The vinyl has a memory that should cause it to go back to its original shape, giving you another chance at the install. Make sure to let the vinyl cool back off before reattempting the install. You can do this several times in the same area, but eventually, you will reach a point of no return with the vinyl and will need a new piece if you’re struggling.
Be patient and avoid using heat to stretch the film on install until you really need to. If you jump right into the heat from the start, you will be fighting with shaping the vinyl on the entire panel. Really skilled installers know this and avoid painting themselves into a corner by making small adjustments and stretches before they get into the hard areas.
STEP 6: WORK OUT ANY BUBBLES
Once the film is applied, it’s time to work out any air bubbles that may have formed. While special channels within the adhesive backing will help minimize the number of bubbles formed, chances are you’ll still need to remove a small handful.
Grab your squeegee and—once again—start in the middle and work your way out toward the exit points at the edges of the film.
Want to be sure you got all of it? A great way to verify your install is to post heat the film to about 200 degrees, which will break the memory of the film, accelerate the adhesion process, and highlight any areas where there is air trapped under the vinyl. If you see any of these areas bubble up, stop heating the area, let it cool down, and then push the air out toward one of the edges. Then, post-heat once more.

STEP 7: CUT THE WRAP AND TUCK THE EDGES
Once the wrap is smooth, it’s time to remove any excess material. Using a sharp blade, carefully cut away the overhanging film, leaving about 1/4 – 1/8 inch all around. Remember that your vehicle’s paint is dangerously close to your blade, so take your time with this step.
Now take that excess 1/4 – 1/8 inch bit and tuck it around the curved edge of the panel. If there’s too much tension, you can use your heat gun to soften it up and remove any wrinkles that may have formed near the edges.
STEP 8: APPLY HEAT TO SET
Once the panel is wrapped and tucked, it’s time to use your heat gun to set it in place permanently. Be sure to apply heat evenly across the surface.
A good method is to use a heat gun in one hand and an IR temperature sensor in the other. This way, you can be sure you get the surface temperature up to 200 degrees, but not so high as to burn the vinyl or underlying paint.
If any of the edges begin to peel back or bubbles appear, you’ll need to fix or replace that section. Trust us, it’s better to do it now than after it continues to get worse once it’s exposed to sun and rain.

STEP 9: WRAP THE REST OF THE VEHICLE
Once you’ve cut your teeth on your first panel, it’s time to complete steps 5–7 on the remainder of the vehicle. It may be slow work, but trust us, it’ll be worth it!
When working with curved surfaces, you will inevitably encounter creases and folds in the film. When this happens, try to reposition the film, and add a small amount of tension to avoid these ripples. As a last resort, you can add a little heat to soften the film and conform it to the shaped surface.
STEP 10: CELEBRATE A JOB WELL DONE
Congratulations! You are now the proud owner of a vehicle that will truly stand out in any crowd. And the best part is, your vehicle’s paint will be protected for up to 10 years!
Does this all sound a bit too complicated to attempt on your own? Your car is your pride and joy, so there’s no shame in contacting the vehicle wrap experts at Brand Ink for help.
At Brand Ink, we know car wraps. Our team is ready to help you find the solution to your graphic needs. We offer custom design, printing, and installation services. From idea to completion, we are proud to provide outstanding client service and quality control.


